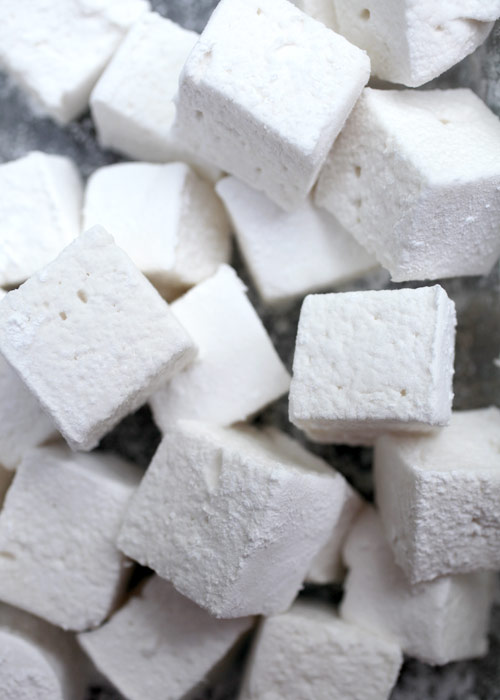
Im giddy right now. I totally made a marshmallow.
Well, a bunch of marshmallows. I feel like a magician or maybe a scientist.
But definitely not a chicken anymore. Im so excited that my first go at these sugary squares worked out so well.
Off to a good start. Thank goodness.
Anytime I deal with boiling syrup and a candy thermometer, I get nervous. Really nervous. I think its because I dont feel like Im in total control of whats happening. Especially when there are several steps that depend on previous steps being done correctly. And then waiting several hours to find out if the finished product even worked. But I have to say, these were super easy to make.
And even more fun to cut.
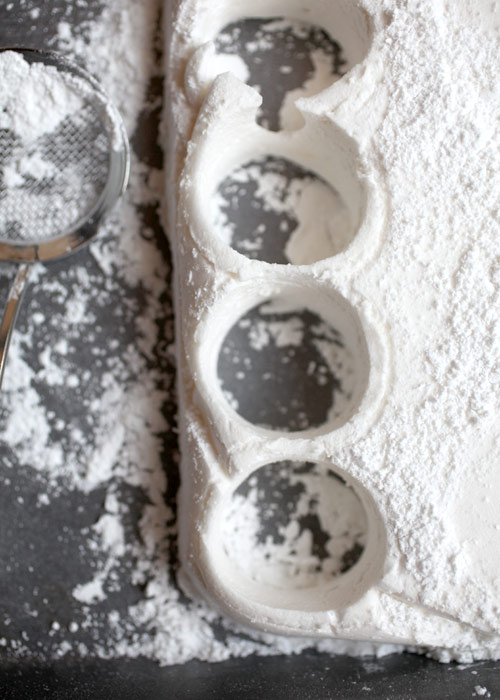
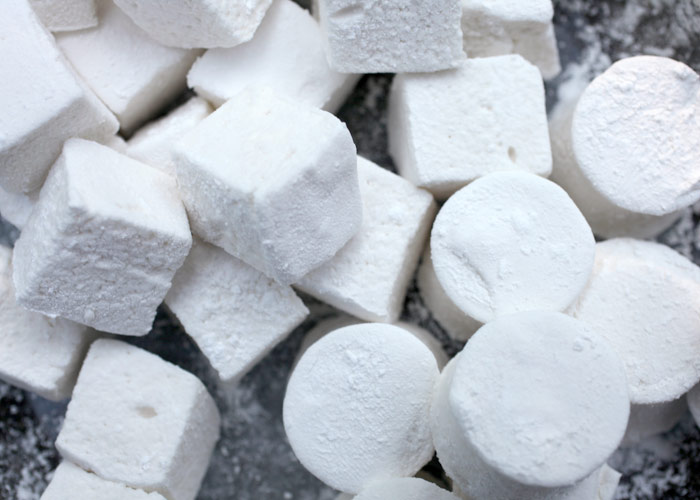
Into circles
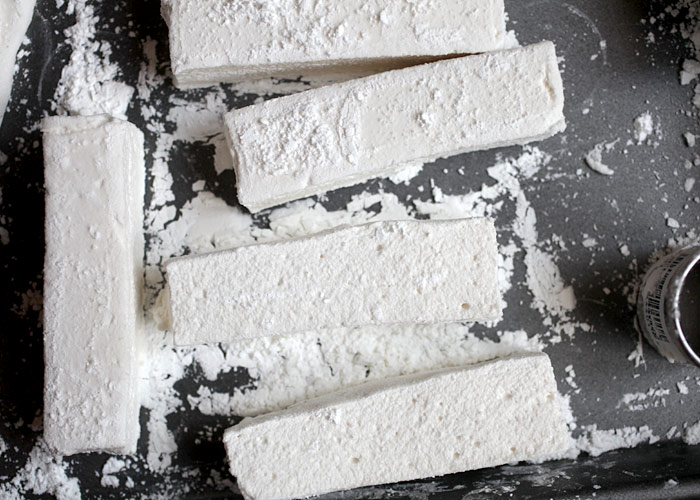
Rectangles like buttah
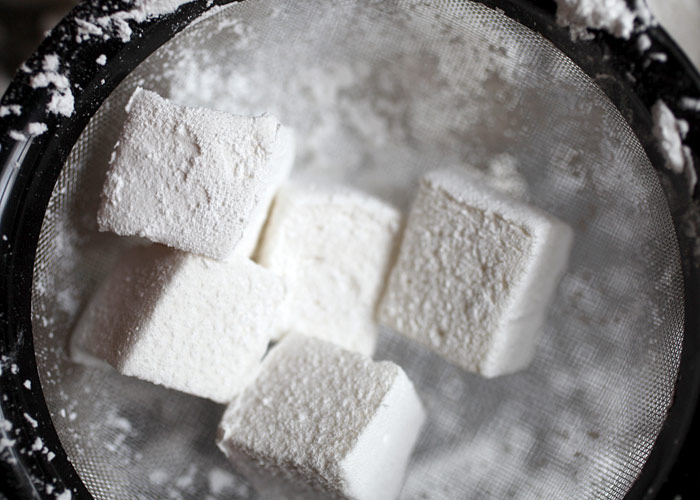
And squares
Ive never been much of a marshmallow fan. I could have a bag of marshmallows in the house forever and never think twice about eating any of them.
Until now. Now that Ive made homemade ones I am smitten.
Plus, I love the way they feel. So puffy and soft. Definitely a food thats fun to play with.

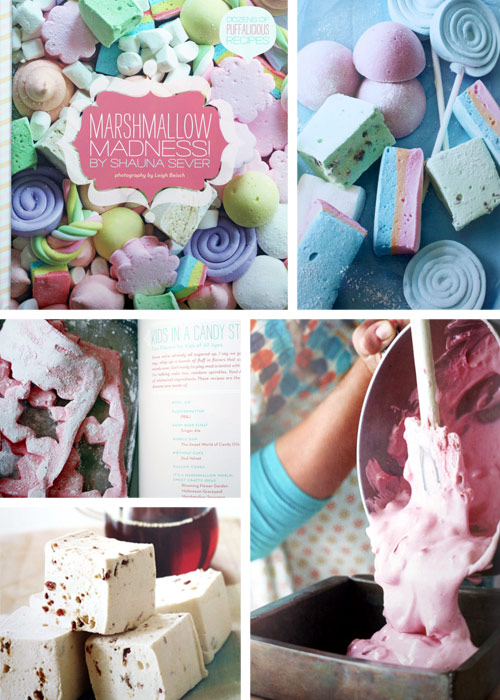
These classic vanilla marshmallows are fantastic. The recipe is from the Puffalicious book, Marshmallow Madness.
Cute, huh!
I know, because I couldnt help myself. After super success with the basic marshmallow recipe, I couldnt wait to try another version from the book.
Buttered Rum? No.
Sea Salt Caramel? Nope.
Bubble Gum Marshmallows. I wish.
Maple Bacon? No. I didnt have any bacon or those babies would be stuffed in my cheeks right now.
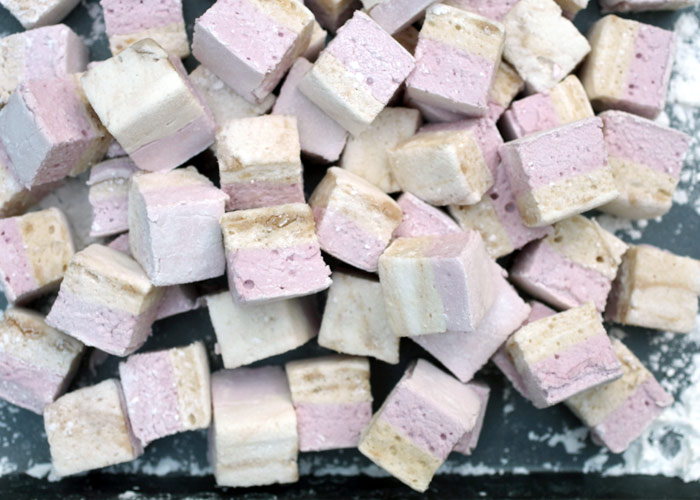
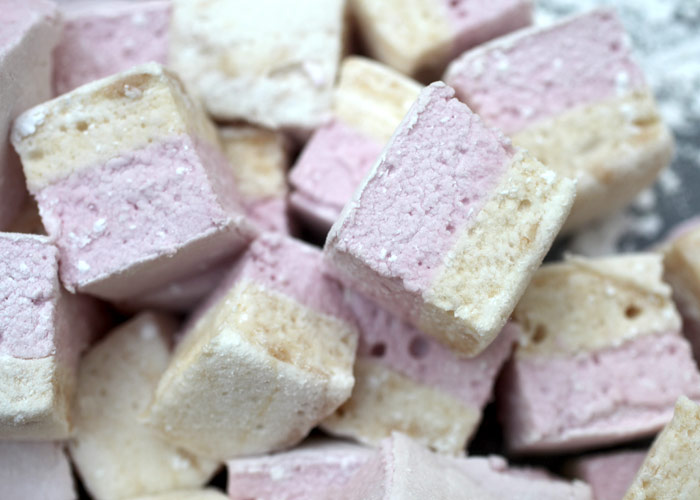
Instead I went for a layered marshmallow. Two tone. Two tastes. Too much awesome! .
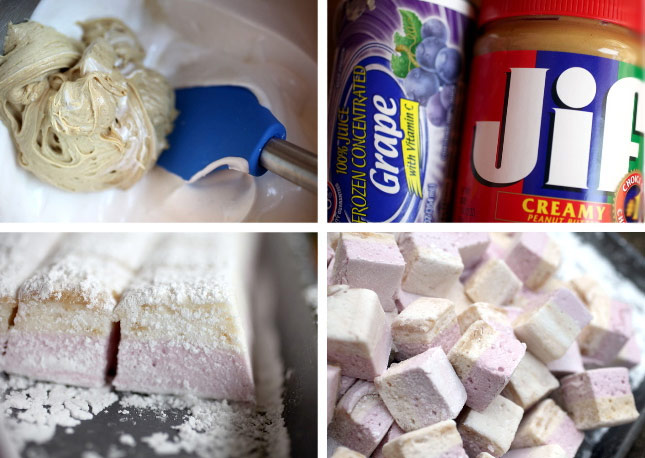
Can you say Peanut Butter and Jelly Marshmallows?
Well, you should. Because they rock.
I was a little skeptical that I could taste the full PB&J effect. But, I was happily satisfied.
They totally taste like peanut butter and jelly. Crazy.
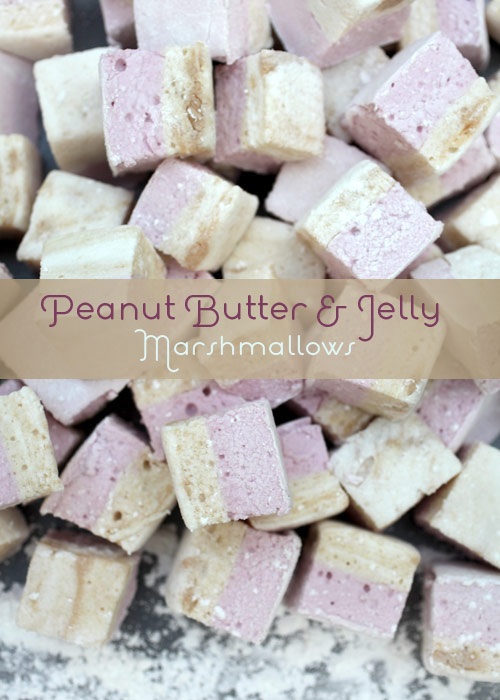
Puffy PB&J. And I loved them. La-la-loved them.
Heres the recipe so you can love them too.
PEANUT BUTTER & JELLY MARSHMALLOWS
From Marshmallow Madness by Shauna Sever
Peanut Butter Marshmallow Layer
Bloom Stage
4 1/2 teaspoons unflavored powdered gelatin
1/2 cup cold water
Syrup Stage
3/4 cup sugar
1/2 cup light corn syrup, divided
1/4 cup water
1/8 teaspoon salt
Mallowing Stage
2 teaspoons pure vanilla extract
3 tablespoons creamy peanut butter
- Lightly coat a 9 X 13 inch baking pan with cooking spray. Use a paper towel to wipe and coat the surface of the pan evenly.
- Add gelatin to a bowl of cold water. Whisk together ! and let soften for about 10 minutes.
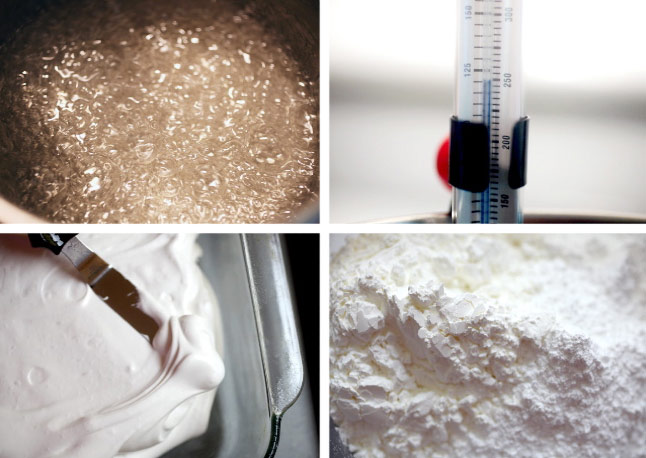
- In a 1 1/2 quart saucepan, stir together the sugar, 1/4 of the corn syrup, water and salt over high heat.
- Boil, stirring occasionally until the temperature reaches 240 degrees F on a candy thermometer. (Make sure the tip does not touch the bottom of the pot)
- While boiling, pour remaining 1/4 cup of corn syrup into the bowl of an electric mixer fitted with the whisk attachment.Microwave gelatin on high for about 30 seconds. Stir again and pour into the mixer bowl. Set the speed to low and keep it running.
- When the syrup reaches 240 degrees F, slowly pour it into the mixer bowl.
- Increase speed to medium and beat 5 minutes.
- Increase speed to medium high and beat 5 more minutes.
- Increase speed to highest setting and beat 1-2 minutes.
- Beat in vanilla.
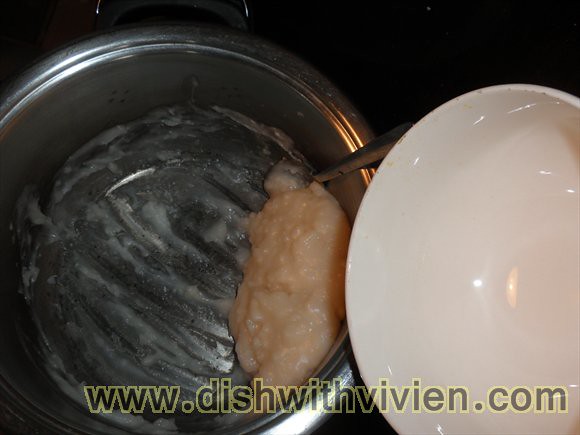
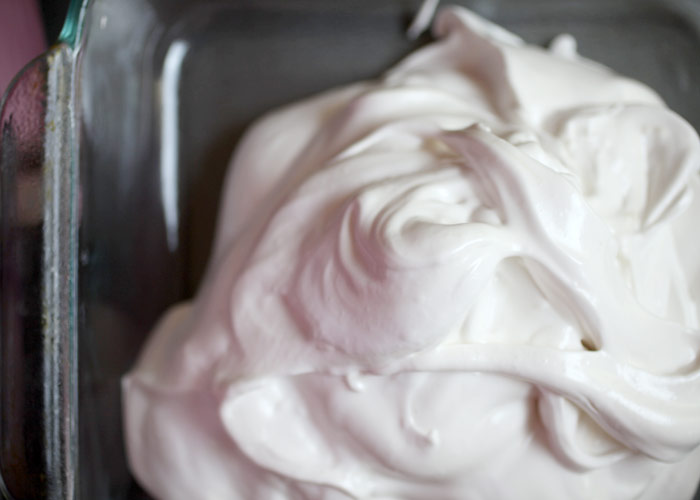
- Place peanut butter into a small bowl and add a quarter of the batter. Quickly stir until well blended. Scrape the peanut butter mallow back in the mixer bowl with the vanilla batter. Use a large spatula to gently fold the two batters together until mostly blended.
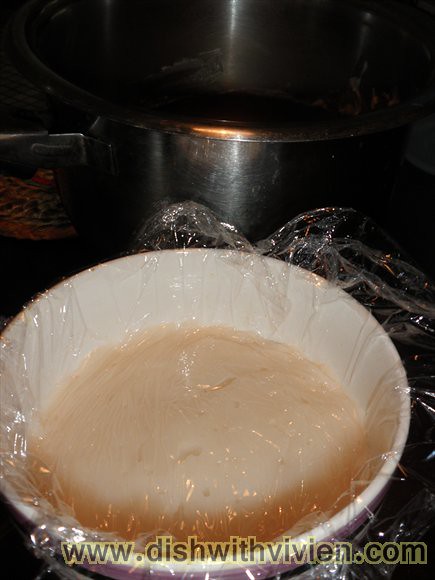
- Pour into prepared pan, using an offset spatula to quickly smooth it out.
- Prepare the grape layer.
Grape Marshmallow Layer
Bloom Stage
4 1/2 teaspoons unflavored powdered gelatin
1/2 cup unsweetened Concord grape concentrate, thawed but still cold
1/4 cup cold water
Syrup Stage
3/4 cup sugar
1/2 cup light corn syrup, divided
1/4 cup water
1/4 teaspoon salt
Mallowing Stage
1 teaspoons pure vanilla extract
Classic coating (Sift together 1 1/2 cups confectioners sugar and 1 cup cornstarch)
- Make classic coating and set aside.
- Add gelatin to bowl with cold water and grape concentrate. Whisk together and let soften for about 15 minutes.
- In a 1 1/2 quart saucepan, stir together the sugar, 1/4 of the corn syrup, water and salt over ! high hea t.
- Boil, stirring occasionally until the temperature reaches 250 degrees F on a candy thermometer.
- While boiling, pour remaining 1/4 cup of corn syrup into the bowl of an electric mixer fitted with the whisk attachment.Microwave gelatin on high for about 30 seconds. Stir again and pour into the mixer bowl. Set the speed to low and keep it running.
- When the syrup reaches 250 degrees F, slowly pour it into the mixer bowl.
- Increase speed to medium and beat 5 minutes.
- Increase speed to medium high and beat 3 more minutes.
- Increase speed to highest setting and beat 1-2 minutes.
- Beat in vanilla during the last minute.
- Pour into prepared pan, using an offset spatula to quickly smooth it out.
- Sift classic coating evenly and generously over the top. Let set for at least 6 hours in a cool, dry place.
- Use a knife to loosen the marshmallow from the edges of the pan. Invert on a coating-dusted baking sheet. Dust with more classic coating.
- Cut into squares or use a cookie cutter. I used a bench scraper and it worked great. Dip sticky/cut edges of marshmallows into the coating and dust off any excess. Or drop several coated mallows in a sieve and shake off any excess.
- Store in an cool dry place in a pan with the lid slightly ajar to allow air flow. If the mallows resist drying, you can simply dust with more coating for any edges that are damp.
To make Classic Vanilla Marshmallows: follow the directions for the Peanut Butter layer and omit the peanut butter. Pour into the pan and dust with classic coating. Let set for 6 hours. Invert on a baking sheet, dust with more coating and cut into squares. Dust again to cover all sides.
Enjoy and I hope you make some mallows. It will make you feel smart. And if youre a little nervous, check out Marshmallow Madness for tons of tips.